
How to run Python PyPy powered web apps in Docker
This post describes how to create an image for a Docker virtual machine, hosting a Python web application powered by PyPy 3, Gunicorn server, Gevent networking library and Flask web framework. I am using Linux, but the same concepts apply to Windows 10, assuming that you have Docker installed on your system.
Given the choice of technology, this post is mainly targeting Pythonistas; however the general concepts apply to any kind of technology stack.
I published the source code of this tutorial in GitHub: https://github.com/RobertoPrevato/PyDocker. Those who don’t want to repeat the process by themselves, may simply clone this repository and follow along. The same repository contains another template, for an interesting technology stack using Python 3.6.2, uvloop and httptools and will contain other templates in the future.
For those who don’t know PyPy
In the last years, I often heard saying that Python is a “slow performing language”, speaking about code execution speed. This is not a correct sentence. Why? Because Python is a language specification, not a concrete implementation. It’s like saying that the blueprints of a car are slow.
Someone may argue that blueprints may impact on the speed of ending product (like a car having a non-aerodynamic shape by design), but I am pretty sure that any object may become fast, with the right engine underneath. At least, enough to not be called “slow”. As a side note, Instagram recently announced to have 800 millions of users a month, and it’s running in Python.
In fact, there are many concrete implementations of Python programming language, just to mention a few:
- CPython, which is the main implementation, driven by Python author
- IronPython, which is powered by .NET Framework and its Dynamic Language Runtime, granting access to all classes offered by .NET
- Jython, a Python interpreter implemented in Java that can be integrated into existing Java applications
- PyPy, a fast implementation using a Just-in-Time compiler.
So, PyPy is a faster alternative to CPython (code-execution-wise), compatible with most of source code that run with CPython. Therefore, there are two code lines: one compatible with CPython 2 and one for CPython 3. In this post I am describing PyPy 3. Some applications, depending on the nature of their operations, greatly benefit from JIT compilation.
Creating the application
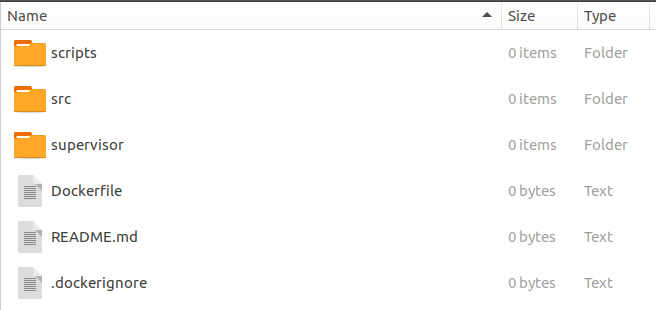
1. Create the folder structure for the project, to obtain something like this:
$ mkdir PyPyGunicornGeventFlask
$ cd PyPyGunicornGeventFlask/
$ touch Dockerfile
$ mkdir src
$ mkdir scripts
$ mkdir supervisor
$ touch .dockerignore
$ touch README.md
The src folder will contain the actual source code of the application, while other folders contain file necessary to Docker image itself and running containers.
2. Create a Python virtual environment and install the packages we want to use.
This step is necessary to run and debug the application before actually trying to pack it inside a Docker image. Since PyPy is compatible with CPython, we can use CPython during development without issues. Of course, PyPy 3 can be used during development, but this is not necessary for the scope of this blog post.
cd src
# create a new virtual environment
python3 -m venv env
# activate
source env/bin/activate
# install Flask, Gunicorn and Gevent
pip install Flask gevent gunicorn
3. Generate a requirements.txt file.
# go back to parent folder
cd ..
pip freeze > requirements.txt
The requirements.txt file will be used to restore dependencies, when generating the Docker image.
Note: make sure that requirements.txt file doesn’t contain a line with this value: ‘pkg-resources==0.0.0’; in such case remove this line. This is an annoying problem that I have on my computer (it seems caused by one of the libraries installed above)
4. Create a server.py
Navigate to src folder and create a server.py file, which contains code to run a Flask application.
import os
from datetime import datetime
from flask import Flask
from werkzeug.contrib.fixers import ProxyFix
app = Flask(__name__)
app.wsgi_app = ProxyFix(app.wsgi_app)
flask_debug = os.environ.get("FLASK_DEBUG", False)
app.config.update({"DEBUG": bool(flask_debug)})
@app.route("/")
def index():
a = datetime.now()
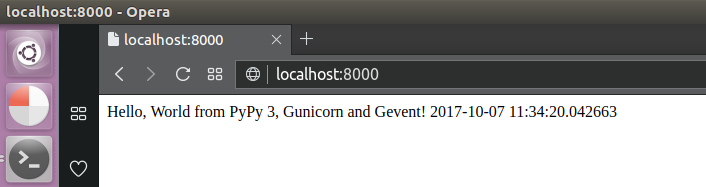
return "Hello, World from PyPy 3, Gunicorn and Gevent! {}".format(a.strftime("%Y-%m-%d %H:%M:%S.%f"))
# Following code is executed when running the server directly, for development
if __name__ == "__main__":
# NB: for the server port, read an environmental variable called "SERVER_PORT", or use a default value
SERVER_PORT = os.environ.get("SERVER_PORT", "8000")
app.run(host="", port=int(SERVER_PORT))
Note how this code is utilizing environmental variables to determine things that should be configurable when running the future Docker containers. For example, whether the application should run in debug mode or on which port it should listen to.
Verify that the application is working by running it (optionally in debug mode):
export FLASK_DEBUG=true
python src/server.py
You should see an output like the following:
$ python src/server.py * Running on http://localhost:8000/ (Press CTRL+C to quit)
 * Restarting with stat
 * Debugger is active!
 * Debugger PIN: 264-026-343
Of course, in this case the application is not served by Gunicorn and Gevent, yet.
To verify that application is working when served with Gunicorn and Gevent, run the following command, from the project root folder:
gunicorn --name 'Gunicorn App Gevent' --chdir ./src --bind 0.0.0.0:9000 server:app -k gevent --worker-connections 1001 --workers 4
You should see an output like the following:
[2017-10-07 12:25:26 +0200] [4666] [INFO] Starting gunicorn 19.7.1
[2017-10-07 12:25:26 +0200] [4666] [INFO] Listening at: http://0.0.0.0:9000 (4666)
[2017-10-07 12:25:26 +0200] [4666] [INFO] Using worker: gevent
[2017-10-07 12:25:26 +0200] [4669] [INFO] Booting worker with pid: 4669
[2017-10-07 12:25:26 +0200] [4670] [INFO] Booting worker with pid: 4670
[2017-10-07 12:25:26 +0200] [4671] [INFO] Booting worker with pid: 4671
[2017-10-07 12:25:27 +0200] [4673] [INFO] Booting worker with pid: 4673
Above parameters instruct Gunicorn to use Gevent with 1001 worker connections, for each of 4 worker processes. For further information on the arguments for Gunicorn, refer to its official documentation.
5. Add script to start the application with Gunicorn
Add a new file ‘runapp.sh’ inside the scripts folder. This script will be executed when starting the Docker container, and start serving the Flask application using Gunicorn and Gevent. Note how the bash script will use environmental variables, so that parameters can be overridden when running containers and can have default values in Dockerfile.
#!/bin/sh
gunicorn --name 'Gunicorn App Gevent' --chdir /app/src --bind 0.0.0.0:$SERVER_PORT server:app -k gevent --worker-connections $GUWORKERS_CONNECTIONS --workers $GUWORKERS --log-file /app/gunicorn.log
It’s time to prepare the Docker image.
Creating the Docker image
1. Add configuration for supervisor
Supervisor is a process control system for UNIX operating systems, which we’ll use to run the Gunicorn server.
Add a file app.conf inside the supervisor folder created previously, with the following contents:
[program:flaskapp]
command=/usr/bin/runapp.sh
autostart=true
autorestart=true
This configuration file simply executes the bash script, and it will be placed in a folder read by supervisord process.
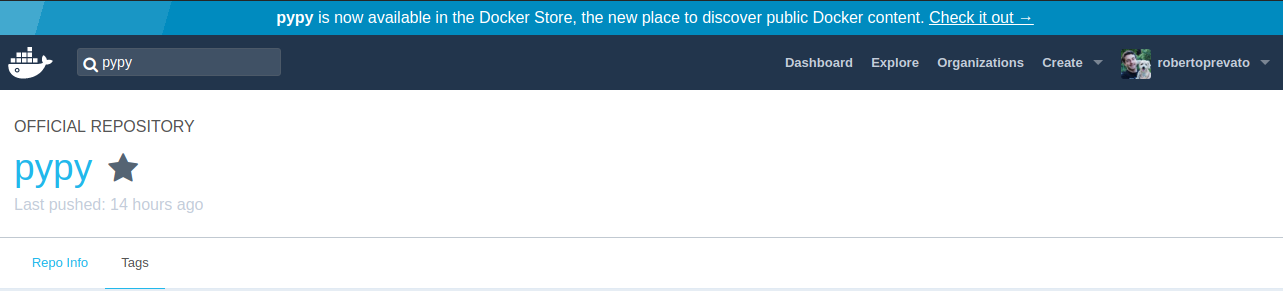
2. Preparing the Dockerfile
We want to start from an official Docker image for PyPy 3, so we navigate to Docker hub and search the name of such image. There we can see there are such images: pypy:3-5.8.
The configuration involves:
- starting from pypy image
- copy the contents of project’s folder
- install Python dependencies (Flask, Gevent, Gunicorn)
- expose port 80 (on which application server will be listening)
- install supervisor, copy necessary files
- set default environmental variables
- run supervisor at startup
FROM pypy:3-5.8

# Set the working directory to /app
WORKDIR /app

# Copy the current directory contents into the container at /app
ADD . /app

# Run python's package manager and install the flask package
RUN pip install -r requirements.txt

# Configure ports
EXPOSE 80

# Run apt-get, to install the SSH server, and supervisor
RUN apt-get update \
    && apt-get install -y supervisor \
    && rm -rf /var/lib/apt/lists/* \
    && apt-get clean

# start scripts
COPY scripts/runapp.sh /usr/bin/

# supervisor config
ADD supervisor/app.conf /etc/supervisor/conf.d/

# Run the chmod command to change permissions on above file in the /bin directory
RUN chmod 755 /usr/bin/runapp.sh

# Default environmental variables
ENV SERVER_PORT 80
ENV GUWORKERS 4
ENV GUWORKERS_CONNECTIONS 1001

# run commands in supervisor
CMD ["supervisord", "-n"]
3. Populate the .dockerignore file
.dockerignore file should include common files produced by Python, that shouldn’t be included in final image.
Just copy-paste the .dockerfile I provided in the GitHub repository.
4. Building the image:
To build the image, with name “pypydemo” and tag “0.1”:
docker build -t pypydemo:0.1 .
If everything works, you should see this last lines, in the console:
Removing intermediate container ************
Successfully built ************
Successfully tagged pypydemo:0.1
5. Running the container
Try to run the container, mapping a host port to destination port:
docker run -p 80:80 pypydemo:0.1
Kind reminder: if you already have an application listening on port 80 (e.g. Apache, Nginx, or IIS), you need to use another port in the previous command. For example, -p 44555:80.
You should then see this kind of output, after several other lines:
2017-10-07 11:51:18,378 INFO success: flaskapp entered RUNNING state, process has stayed up for > than 1 seconds (startsecs)
Success! You can now open a browser and navigate to http://localhost; which should return the response from the server inside the running container.
If something goes wrong and you need to enter the running container, do the following:
# find the container name
docker ps

# enter the container inside bash:
docker exec -it <container_name> /bin/bash
And that’s all! In my next blog post, I am going to deploy a custom image inside an Azure Application Service Plan, and show how to deploy it using ARM templates.