Getting started with Kubernetes
This page introduces the basics to start learning Kubernetes:
- Preparing a development environment.
- Recommended learning resources for beginners.
- Obtaining the examples of this repository.
- Offering an overview of Kubernetes distributions.
Preparing a development environment
To work with Docker and Kubernetes, I always used Ubuntu and the CLI tools, without graphical user interfaces. I started using Docker in 2015. At that time, Docker was only supported on Linux and there was no Docker Desktop. Today I am still using the CLI, and I can recommend it. I have no interest in using Docker Desktop, nor in using Docker on Windows.
I don't talk about Podman, because I never used it, but I heard it is a good alternative to Docker.
Docker Desktop can require a paid license.
Docker Desktop requires a paid license for professional use in organizations with more than 250 employees or more than $10 million in annual revenue. Smaller businesses, personal use, education, and non-commercial open source projects can still use Docker Desktop for free.
You can use the Docker CLI (command-line interface) for free also for commercial use.
To learn Docker, I recommend having:
- A personal laptop or desktop with Ubuntu 24.04 installed directly as main operating system.
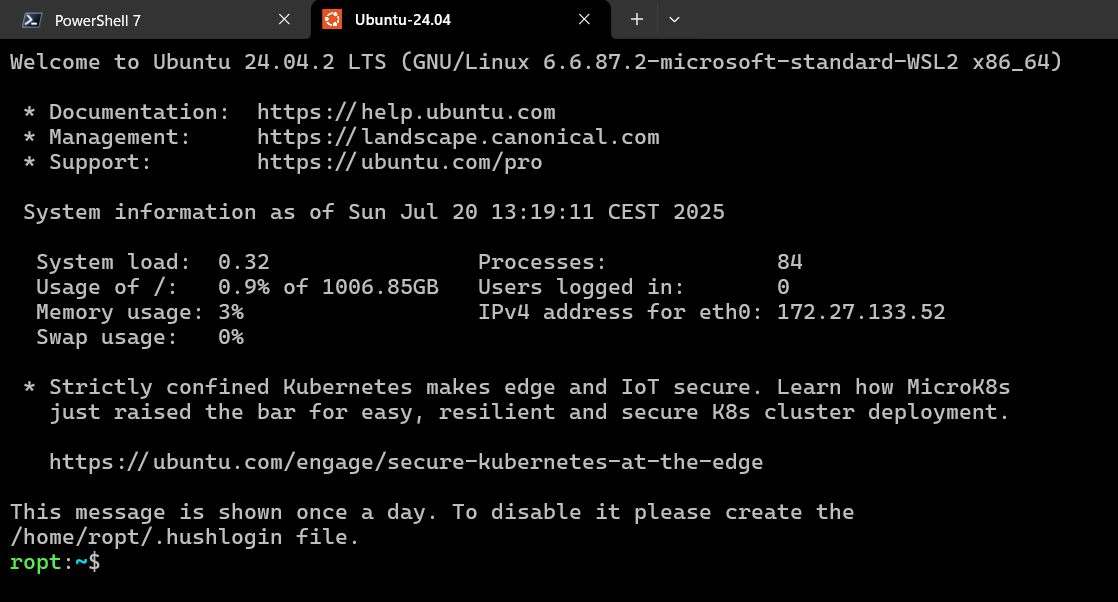
- Alternatively, a Windows machine with WSL and Ubuntu 24.04 installed.
I work successfully with both, and installing the tools was easy in both cases.
Installing Ubuntu as main OS.
To install Ubuntu as main operating system, you can download the ISO from ubuntu.com and follow the instructions to create a bootable USB drive.
Creating a bootable USB drive can be done using tools like balenaEtcher. balenaEtcher is available for Windows, macOS, and Linux, and is easy to use.
Enter the BIOS/UEFI settings of your computer and set the USB drive as the first boot device. Boot from the USB drive and follow the installation instructions to install Ubuntu. The process may vary depending on your hardware, but it is usually straightforward. Some hardware makes installing Ubuntu easier, while other hardware can present challenges.
Installing Ubuntu on WSL
To install Ubuntu on Windows Subsystem for Linux (WSL), you can follow the official instructions from docs.microsoft.com.
I recommend using PowerShell to install WSL, and using the Windows Terminal to use WSL. If you have Windows 11 22H2 or later, Windows Terminal will come pre-installed.
Installing Docker
To install Docker on Ubuntu, you can follow the official instructions from docs.docker.com. I recommend using the apt repository, like documented here.
Installing the tools is trivial. At the time of this writing, it is sufficient to run the following commands:
# Add Docker's official GPG key:
sudo apt-get update
sudo apt-get install ca-certificates curl
sudo install -m 0755 -d /etc/apt/keyrings
sudo curl -fsSL https://download.docker.com/linux/ubuntu/gpg -o /etc/apt/keyrings/docker.asc
sudo chmod a+r /etc/apt/keyrings/docker.asc

# Add the repository to Apt sources:
echo \
  "deb [arch=$(dpkg --print-architecture) signed-by=/etc/apt/keyrings/docker.asc] https://download.docker.com/linux/ubuntu \
  $(. /etc/os-release && echo "${UBUNTU_CODENAME:-$VERSION_CODENAME}") stable" | \
  sudo tee /etc/apt/sources.list.d/docker.list > /dev/null
sudo apt-get update
sudo apt-get install docker-ce docker-ce-cli containerd.io docker-buildx-plugin docker-compose-plugin
After installing on Linux, follow the post-install instructions to configure the system.
Add your user to the docker group so that using Docker does not require sudo,
following the instructions linked in the previous sentence.
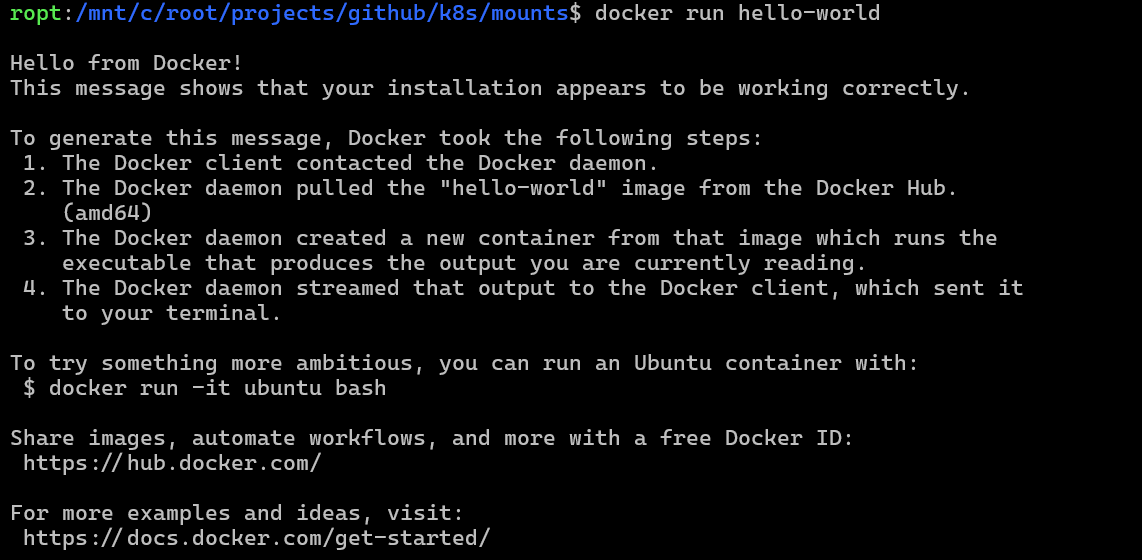
Verify that you can run Docker without sudo by running:
If you see a message that says "Hello from Docker!", then you have successfully installed Docker.
Installing Kind
To run Kubernetes locally for learning purposes, I recommend using Kind (Kubernetes in Docker), which is a tool for running Kubernetes clusters in Docker containers.
I also tried MiniKube, but I am currently focused on Kind and this is what I will use in my first notes.
Using Kind, MiniKube, or a similar tool, is convenient for development and testing purposes, because they allow you to run a Kubernetes cluster on your local machine without the need for a full-fledged cloud provider. When I started studying Kubernetes, at first I used Azure Kubernetes Service (AKS), but it is very expensive to run such service just for learning purposes.
Always relying on cloud providers can lead to vendor lock-in, which defeats one of the best reasons for using Kubernetes
To install kind, follow the instructions on kind's official website.
At the time of this writing, it is sufficient to run the following commands to install
using release binaries:
# For AMD64
[ $(uname -m) = x86_64 ] && curl -Lo ./kind https://kind.sigs.k8s.io/dl/v0.29.0/kind-linux-amd64

chmod +x ./kind
sudo mv ./kind /usr/local/bin/kind
If installed correctly, you can verify that kind is working by running:
Installing K9s
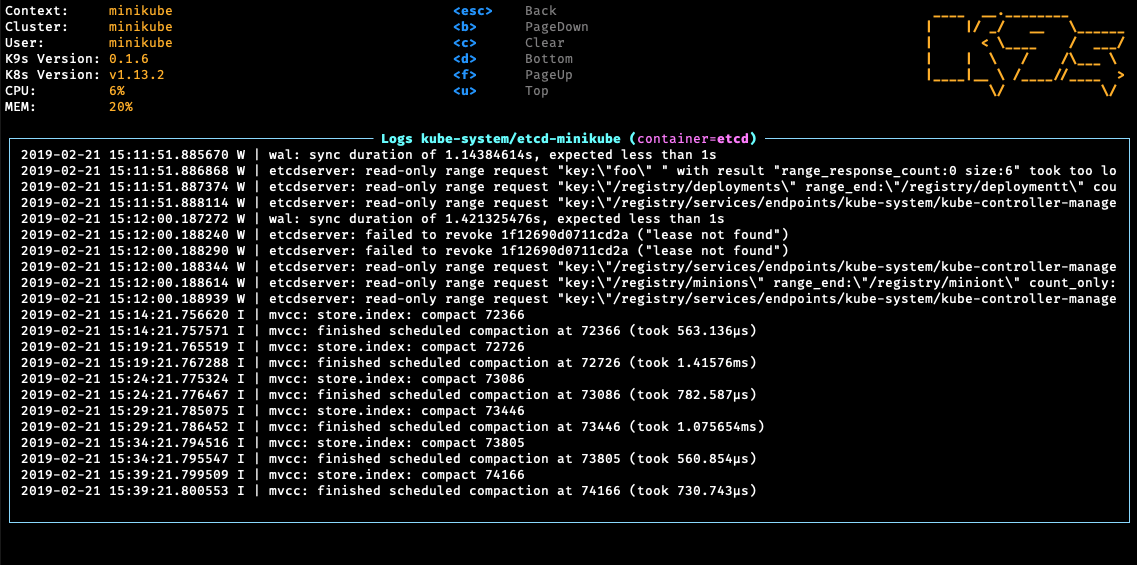
To manage Kubernetes clusters, I recommend using K9s, which is a terminal-based UI for managing Kubernetes clusters.
k9s can be helpful to visualize the state of your Kubernetes cluster, view logs, and perform various operations on Kubernetes resources.
Installing k9s is easy, and at the time of this writing, it is sufficient to do the following:
- Install Homebrew if you don't have it already.
- Run the following command to install k9s:
brew install derailed/k9s/k9s.
# install brew
/bin/bash -c "$(curl -fsSL https://raw.githubusercontent.com/Homebrew/install/HEAD/install.sh)"

# install k9s
brew install derailed/k9s/k9s
Recommended learning resources
For beginners, I recommend the following resources to learn the basics of Docker and Kubernetes:
The YouTube channel TechWorldwithNana by Nana Janashia, has great tutorials for beginners about Docker and Kubernetes.
If you are not familiar with Docker and the basics of Kubernetes, I recommend watching these videos before proceeding with my notes.
If necessary, I recommend also:
Other Kubernetes distributions
Besides Kind and MiniKube mentioned above, there are more ways to install Kubernetes.
| Name | Purpose | Production capable? |
|---|---|---|
| Kubeadm | Tool for bootstrapping production-grade Kubernetes clusters. | Yes |
| MicroK8s | Lightweight Kubernetes distribution developed by Canonical (the organization behind Ubuntu). Fast, production-capable, can be used on small or edge devices. | Yes |
| K3s | K3s is a highly available, certified Kubernetes distribution designed for production workloads in unattended, resource-constrained, remote locations or inside IoT appliances. | Yes |
| minikube | For local development and testing, minikube runs Kubernetes clusters supporting several ways to run the nodes (Docker, Podman, or virtual machine managers). | No |
| Kind | For local development and testing, Kind (Kubernetes IN Docker) runs Kubernetes clusters using Docker or Podman containers. | No |
Summary
Preparing a development environment for learning Kubernetes is straightforward, and it takes just a few minutes to install the necessary tools (depending on your internet connection speed). You can use Docker and Kind to run Kubernetes clusters locally, which is a great way to start learning Kubernetes without relying on cloud providers.
Get the examples
If you are interested in the examples of this repository, you can clone the repository
at: https://github.com/RobertoPrevato/K8sStudies/
and use the files in the examples folder.
Next steps
The next steps describe how to create a Kubernetes cluster using Kind, and how to
interact with it using kubectl and k9s. Creating a cluster with Kind.